
In our last article, we used Phoca Cart to create six new shop categories. In this article, we will add products to some of these categories. Before we add any new products, select and unpublish, but do not yet delete the existing DEMO products (as we will use some of these products for examples later on).
On a surface level, adding products is relatively simply. You first find or create an image for each product. Then open Phoca Cart and click Products New.
Give the product a title, a price and a category. Then give it a one sentence description. Then click on the Image Options tab and click Select Image. This brings up a screen with six DEMO category folders similar to the Categories screen we saw in our last article. But these are folders in the phocacartproducts folder meaning that they hold product images rather than category images.
So if this is the first product in a category, we need to click Create Folder and create a folder to hold our Product Image. Click Create Folder and call it books. Then click on the books folder. Click Upload. Then click Browse and select your Product Image.
Then click books.jpg A Yellow popup will flash letting you know that Thumbnail images for this product image have been created. Then click Save and Close.
This brief process may work for some products. But if you want to draw attention to a product or provide your customers with more information about the product, then there are many additional steps you can and should take when creating a new product.
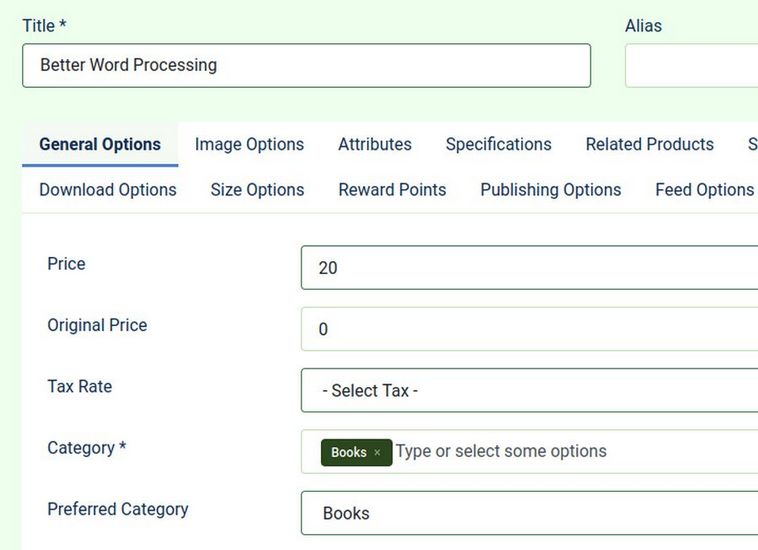
Click on the Better Word Processing Book product we just created. Note that at the top of the New Product and Product Edit screen, there are 13 different tabs.

On the General Options tab, scroll to the bottom of the page. You will see there are three different Description boxes. in the Short Description work space is the main description: “Learn how to create better formatted documents.”
Below this is a box called Long Description. For this, copy and paste:
In this 400 page book are 40 articles which explain how to create better formatted documents. We cover how to use Libre Writer to set up custom styles and how to organize documents with headings which in turn can be used to create a custom Table of Contents.
Below this box is a Features box where you can provide a list of features about your product. For this, copy and paste:
This book has the following features: Over 400 images plus examples of how to create a wide range of documents from 1 page brochures to 10 page reports to 400 page books.
You can add text and images to each of these three descriptions. Then click Save and Close. To see what these three descriptions look like in the front end, click on Visit our Shop. Then click the Books category. Then click View Product.
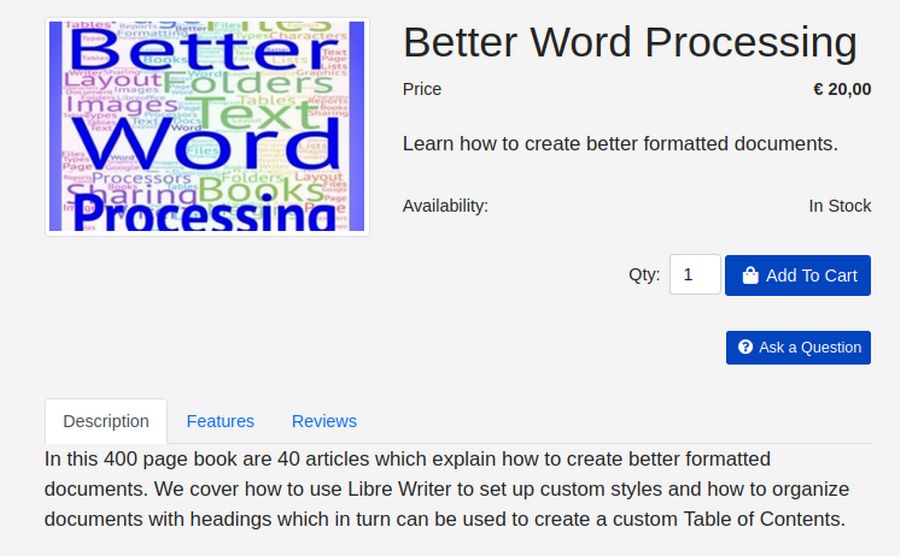
The Short Description appears on the Category page and on the Product page just below the product title. The Long Description appears in the Product Information table below the Product on the Product page. Click on the Features tab to see the Features description:

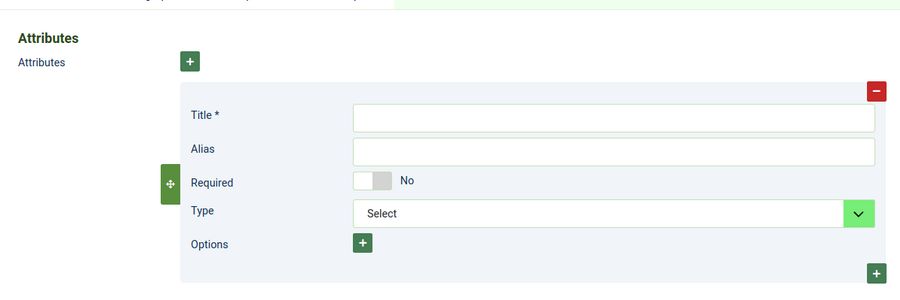
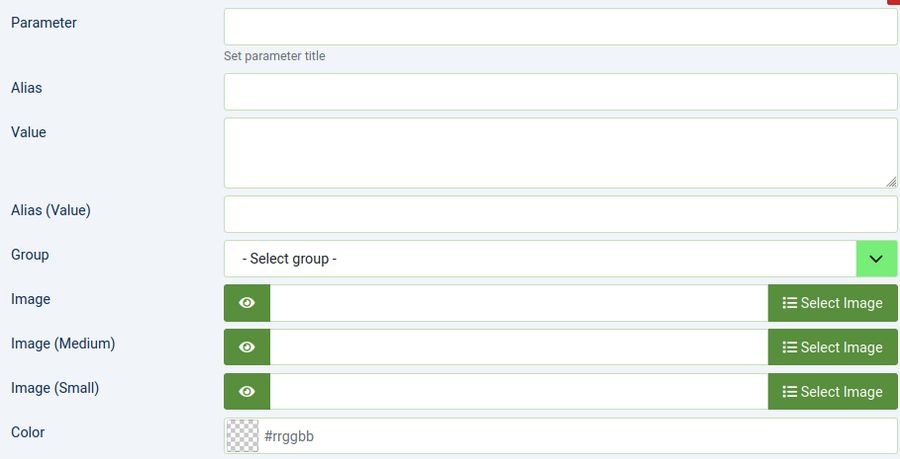
Now go back to the Book product edit screen and click on the Attributes tab. Then click on the Plus sign:
With clothing, you can use the title Color to offer clothing in several different colors. With food, you can offer several flavors.
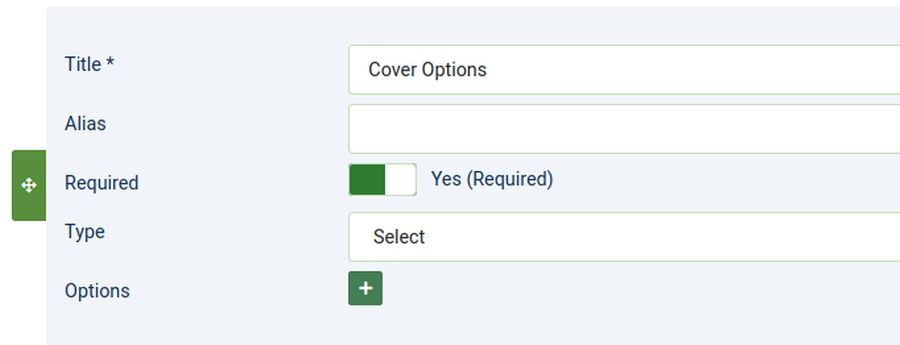
We will type Cover Options to offer our book in two different covers, Hard Cover with Color images and Soft Cover with Grayscale images. Click Required and for Type, click Select:
Click on the Plus sign to select some options. For Title, type Soft Cover with Grayscale images. Then click on the Plus sign at the bottom of this option to add a second option. For Title click Hard Cover with Color Images. For Amount, add 20 as the Hard Cover book costs 40 while the soft cover book is only 20. Then click Save and Close and view the result.
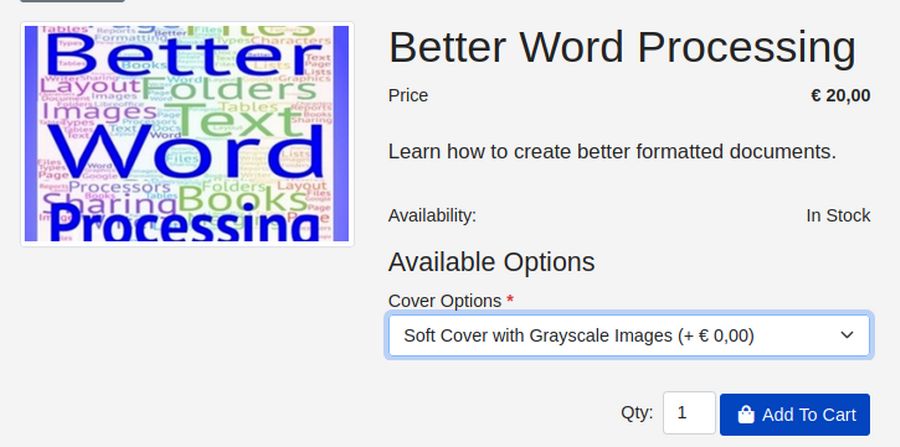
Use the drop down to see that the Hard Cover adds 20 to the price. We will cover how to add Product Attributes in more detail in Section 4.4 For now, go back to the Book product and click Edit.
Then click on the Specifications tab. Then click the Plus sign:
Specifications provide more information about the car. But they generally do not affect the price or inventory level. Note the Group Selection arrow. Phoca Cart allows you to create your own Specification groups. Specifications are displayed below the product on the product page. We will cover specifications in more detail in Section 4.3.
Next, click on the Related Products tab. A box will appear. Just start typing in this box to bring up a list of products that include that letter. You can add any products you want to be related products. They then appear in the Product information table below the Product on the Product page.
Next click on the Stock Options tab.
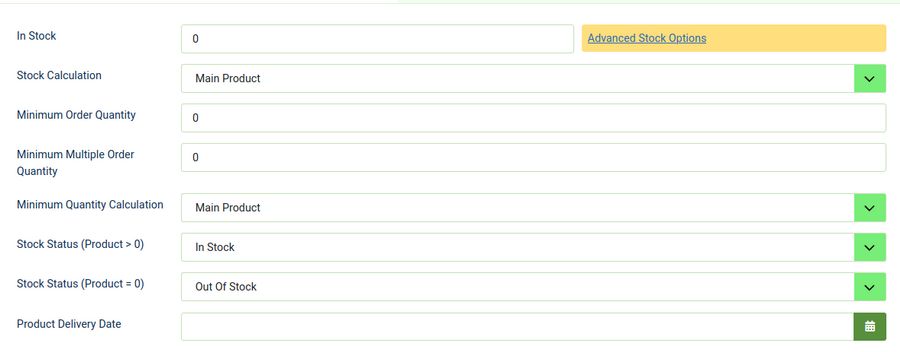
There are two ways to keep track of inventory. The most accurate way is to click on the Advanced Stock Options button.
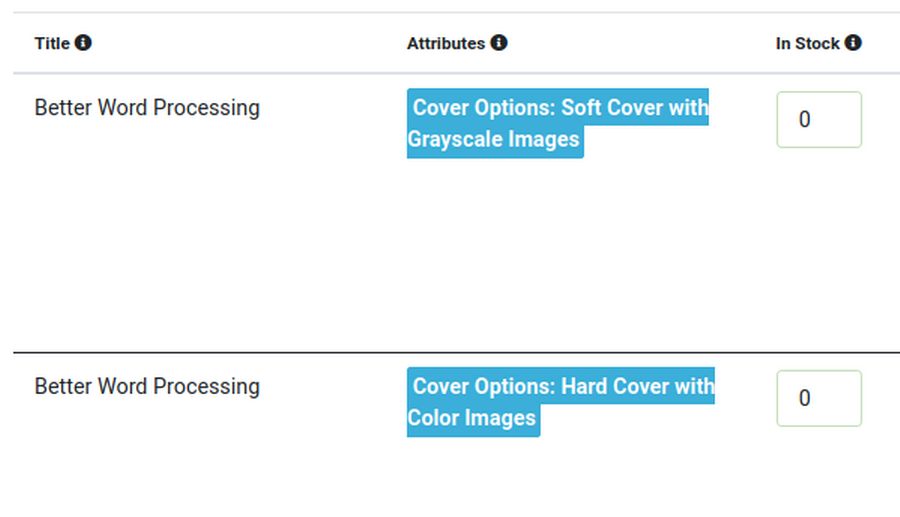
Here we can keep track of the inventory of both versions of our book. We will cover Inventory Management in more detail in a later chapter.
Next, click on the Size Options tab:
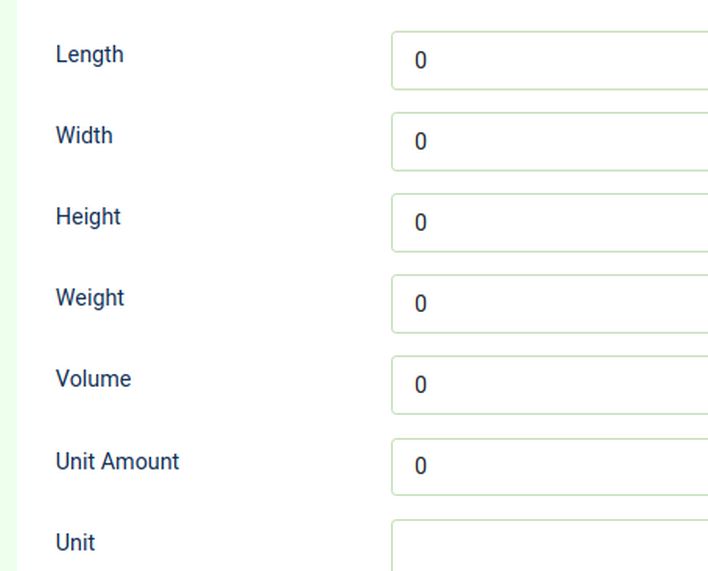
By default, the values are metric. But you can change them to English in the Options area. These size values will then be displayed below the short description on the Product page:
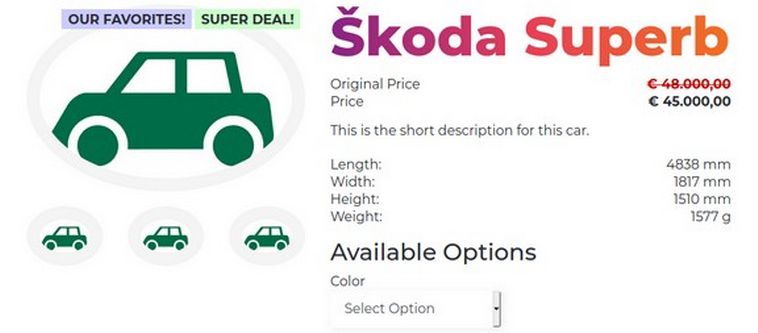
Click on the Publishing Options tab. Note the boxes called Tags and Labels. We can add tags and labels to any product. For example, the above car has the labels Our Favorite and Super Deal. But the tags and labels need to be created first before they can be added to products. In the next chapter, we will explain how to create and add both tags and labels.
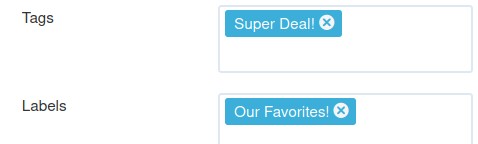
We have added one label and one tag to this product. Here is what these two labels and tags look like on the front end of our site:
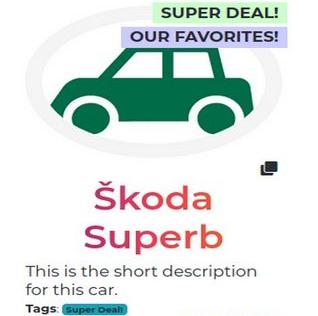
Note that both tags and labels appear above the product image. But only tags appear as a tag below the product short description. Tags can therefore be very confusing and hard to even see. So we recommend using labels rather than tags.
What’s Next?
This completes our introduction to Phoca Cart Categories and Products. In the next chapter, we will cover creating and customizing tags and labels.